First Steps - Launch a kickstart instance
Overview
This tutorial explains how to launch a single instance with pre-installed OpenStack Client using the Horizon dashboard (GUI).
The kickstart instance contains all necessary tools to get started with the OpenStack Client.
Goal
- Launch a jumphost/kickstart instance via GUI (Horizon)
- Automated installation of the the OpenStack Client in the new instance
Prerequisites
- You need to have the login data for the SysEleven Stack API (user name and passphrase)
- Knowledge how to utilise a terminal/SSH and SSH-keys
Import SSH keys
- Upload your SSH key(s) to the Horizon Dashboard - see the how-to article on importing SSH-keys
Launch Stack
- Log in to the SysEleven Stack Dashboard using the username and password (API credentials) that were provided by SysEleven.
- In order to launch the example stack using the dashboard go to "Project" --> "Orchestration" --> "Stacks".
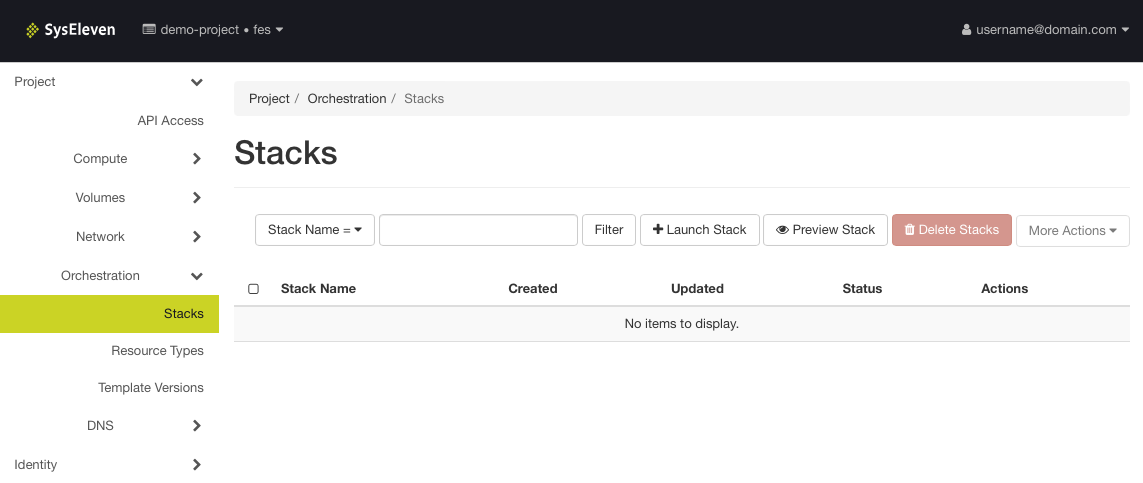
- Click the button "Launch Stack"
- Select "URL" as "Template Source"
- Copy the URL of the example code file
https://raw.githubusercontent.com/syseleven/heat-examples/master/kickstart/kickstart.yaml - Paste the copied URL into the field "Template URL"
- Select "File" as "Environment Source"
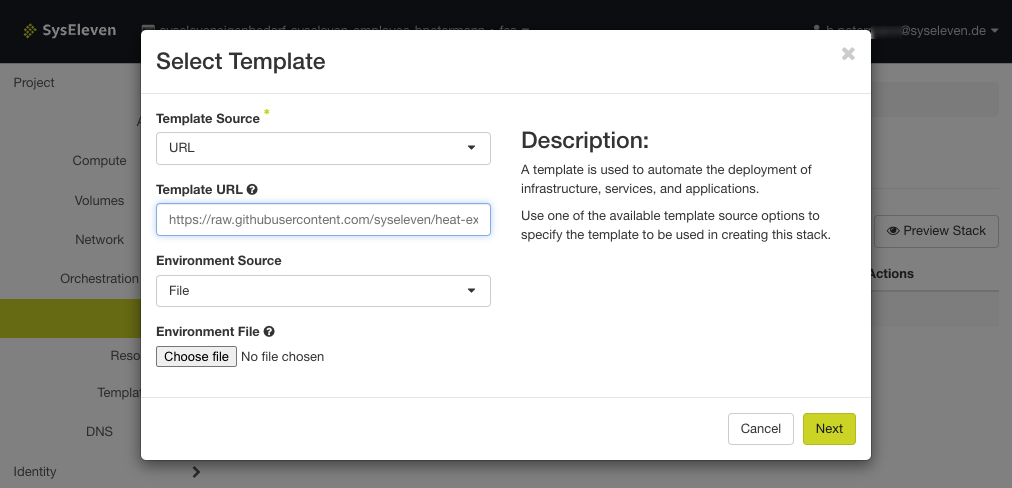
- Click "Next"
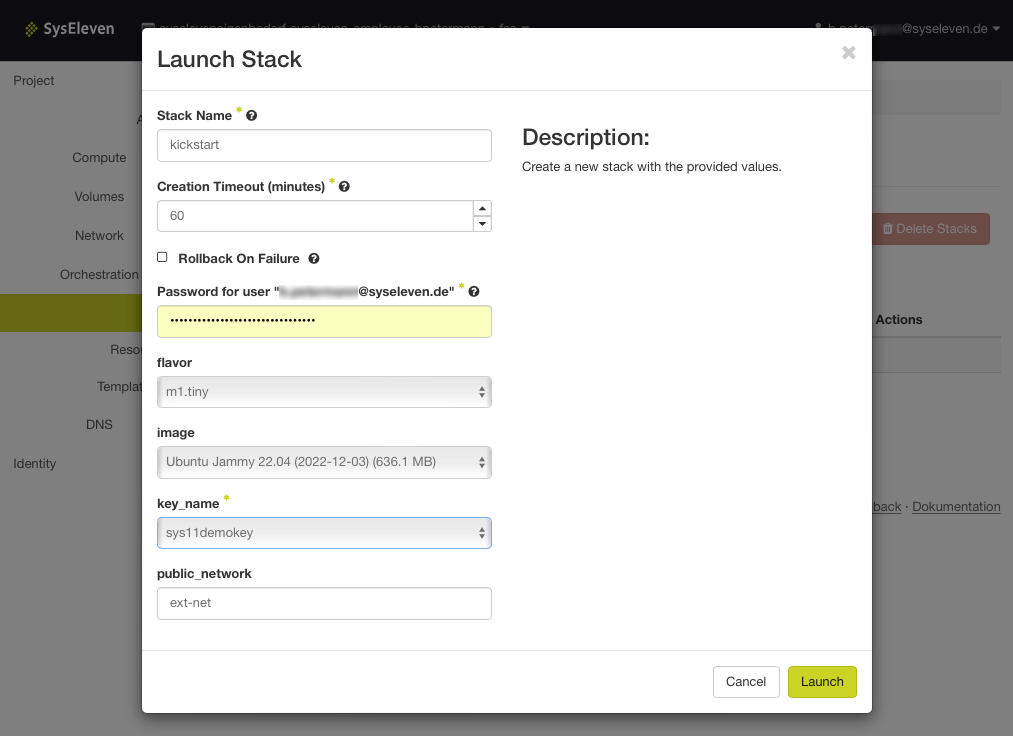
- Write a name for this stack into the field "Stack Name"
- Write the name of your SSH key that you uploaded to the Horizon Dashboard - see Import SSH key(s)
- Click on "Launch"
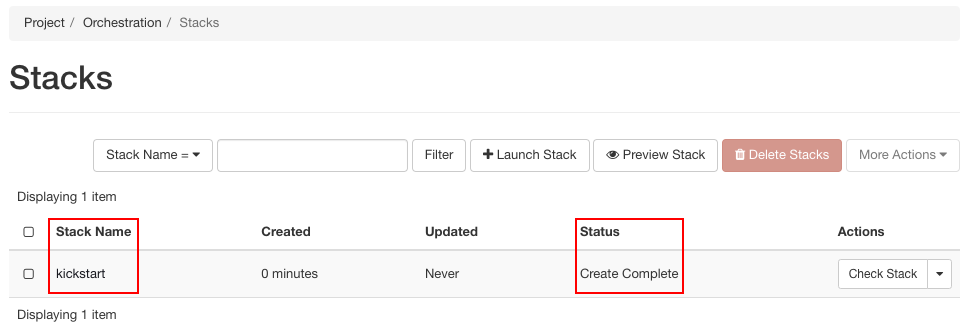
- Verify that the stack status is "Create In Progress" or "Create Complete"
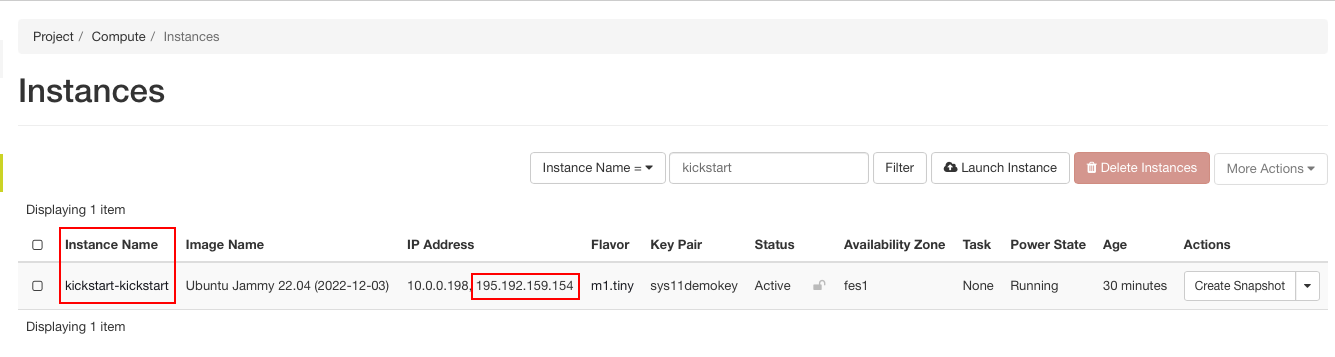
- Go to "Compute" --> "Instances" in order to retrieve the floating IP that is required to access the instance via SSH and copy the floating IP of the kickstart server
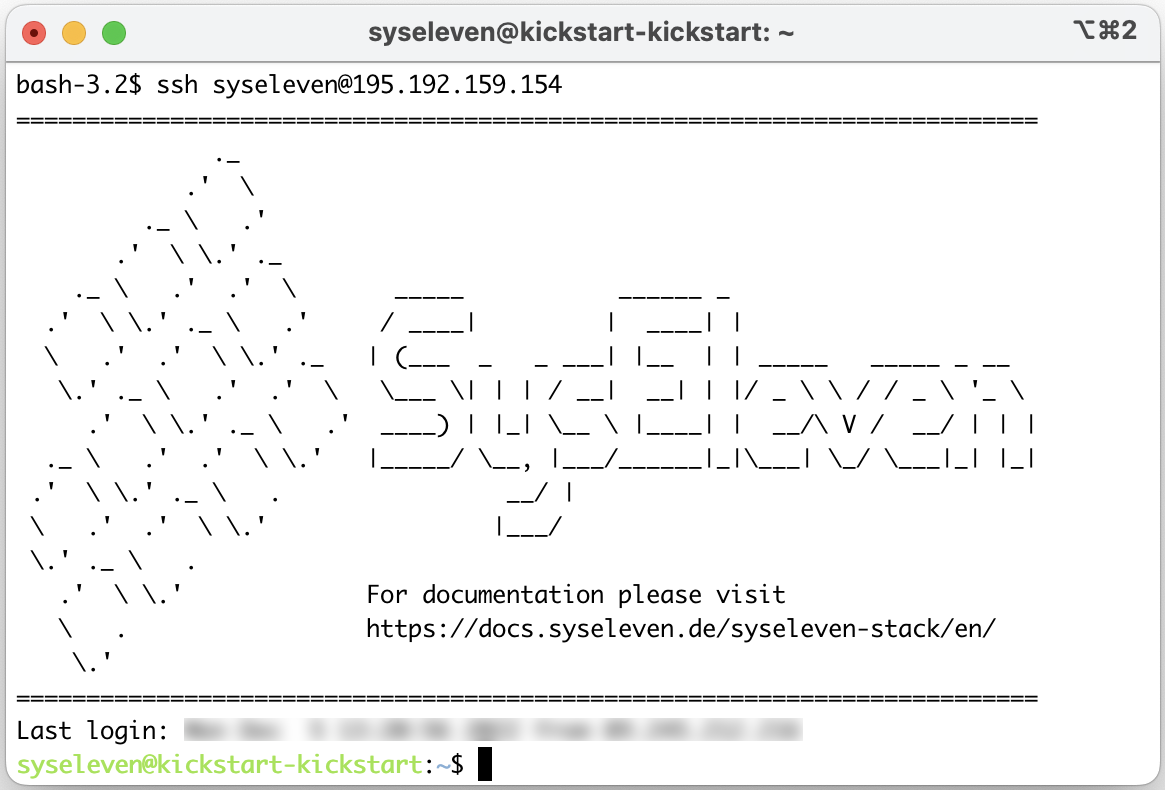
- Open a terminal of your choice and log in to the instance via ssh with the username
syseleven
ssh syseleven@<floating IP> -i ~/.ssh/< private ssh key >
- You should now be logged in your instance via SSH
Conclusion
You launched an OpenStack instance using a simple IaC (Infrastructure as Code) heat example template.
This instance can be used as "jumphost" to work with the OpenStack client CLI. All required tools are pre-installed already.
The instance is available via SSH and ready to be used for further tasks.